Do you ever find yourself struggling to remember what you did on your computer screen a few minutes ago? If so, you’re not alone. In fact, millions of people around the world experience screen capture issues on a daily basis. Screen capture is the best way to remember what you’ve done on your PC or Mac and to keep track of your work while you’re working. In this article, we’ll introduce you to the 5 best screen recorders for Windows and Mac. We’ll also explain how you can use each one, so you can record everything on your screen!
I’m excited to share the five best screen recorders. It’s going to help you whether you use a Windows or a Mac system, so you can record your screen and share it with team members or staff. You can also create STEP BY STEP screen tutorials, or I will do just that right now. Stay tuned until the end of this article as I’ll share the exact software that I use to record my screen and as well as add a little facecam to my videos.
How To Record Your Screen on Windows & Mac?
Using screen recording as a way to record your desktop activity can be very helpful for future references. You can capture the entire window with all its contents, as well as the active application with all its windows, by capturing your screen. With this software, you can also capture audio from your computer’s microphone. Easy to use and versatile, this screen recorder for Windows & Mac is a great tool for capturing your desktop and recording audio.
Top 5 Best Screen Recorders for Windows & Mac
- Tool 1: Loom
- Tool 2a: Windows Screen Recorder
- Tool 2b: MacOS Screen Recorder
- Tool 3: Canva Present & Record
- Tool 4: Camtasia
- Tool 5: ScreenFlow
Tool 1: Loom
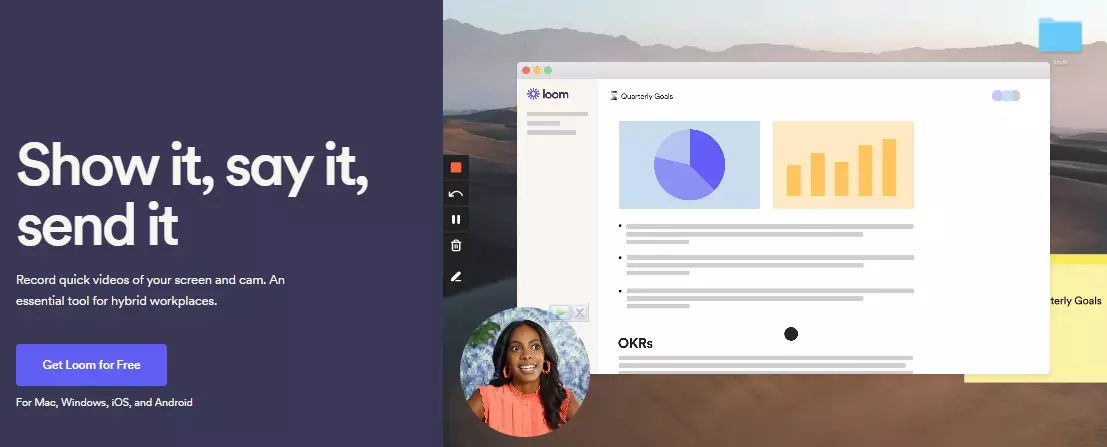
Platform: Mac, Windows, iOS, Android
The great thing about Loom is that it’s compatible with Mac, Windows and even iOS and Android devices. You can record up to five minutes of video each time you use Loom, and it’s free. You can also create the Cam bubble effect with Loom, so you can record and present simultaneously. Getting started is as simple as installing Loom, creating an account, and installing the browser extension or desktop version if you prefer. The Chrome extension is what I’ve got installed.
How to Record Your Screen With Loom?
Here’s an example in my browser. Whenever you get some options in terms of what you want to record, like screen and camera, do you want to record the full desktop or current tab? Select your devices such as your microphone and your camera and you’ll be able to see me right now as I’ve seen my FaceTime HD camera and a couple of other settings you can adjust. After that, simply click Start Recording. Let’s record a demo.
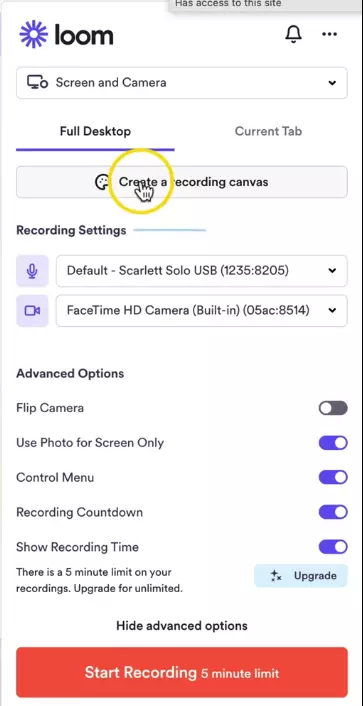
Click on Start Recording. You’ll have to decide if you want to share an entire window or a Chrome tab. If you have more than one tab open, I’ll select the Chrome tab first and then the other tab. Click Share, and you have 3 seconds to prepare. Here we go!
As we are recording, I’ll stop this recording because I can see my FaceTime camera. After that, you can edit the video instantly in this editing mode. You can trim and cut specific areas by clicking Trim Video. Now we just need to drag the little scrubber where we want to cut. So let’s start here.
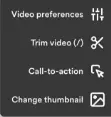
Let’s say we want to cut something between, we can click on Split here and then let’s say we don’t want this little part. Now let’s say this area is not what we want. Let’s click Split again. We can delete that area simply by selecting it and clicking Delete. That’s it. It’s now all about playing, viewing, and downloading it. You’re there.
Also Read: Top 8 iOS Emulators for PC in 2022 (Windows & Mac) to Run iOS Apps
You can’t do much else to your video besides trimming. You can also download the video by clicking the ellipsis button, clicking Download, then clicking Download Video. You can also record up to 720p on Loom’s free plan, but you can record up to 4K on the business plan. So the resolutions are drastically different. Your system’s screen recording software is a free option for recording your screen.
Tool 2a: Windows Screen Recorder
Platform: Windows
How to Record Your Screen With Windows Screen Recorder or Game Bar?
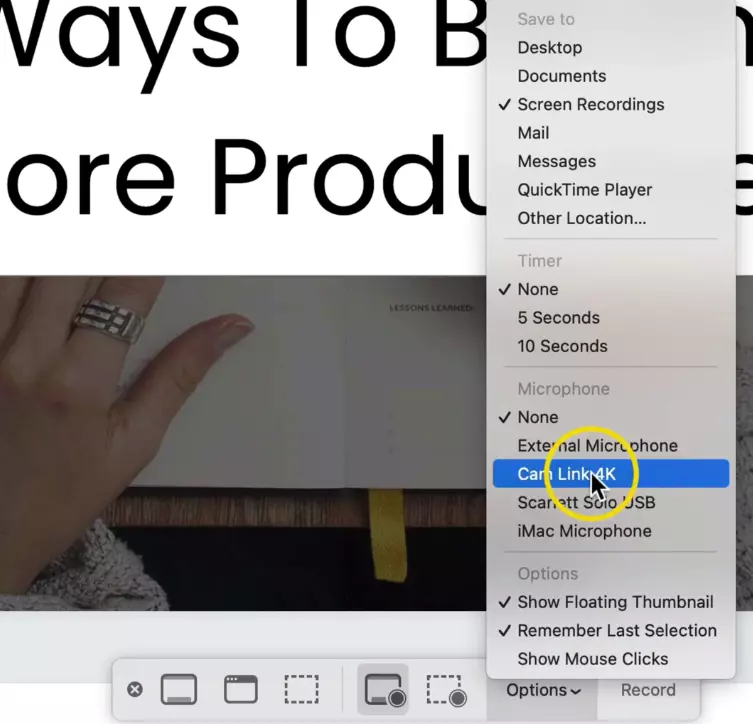
Here are some instructions so you can do it with Windows. Basically, you open the Game bar and then configure the settings from there. These instructions are provided by Invideo. When you’re finished setting up the settings, all you need to do is press the Windows + G shortcut to start recording your screen. Because I have a Mac, I cannot demonstrate with a Windows system. On the Mac system, you can do this by pressing command + shift + 5 and then this toolbar will appear, so select the right microphone before selecting the options.
Tool 2b: MacOS Screen Recorder
Platform: Mac
If you want, you can capture if you want by using this timer right here. How would you like to save your video? Would you like to save it to your desktop? Mine is called Screen Recordings. You can choose what you want to capture on the left and it goes into a specific folder.
How to Record Your Screen With MacOS Screen Recorder?
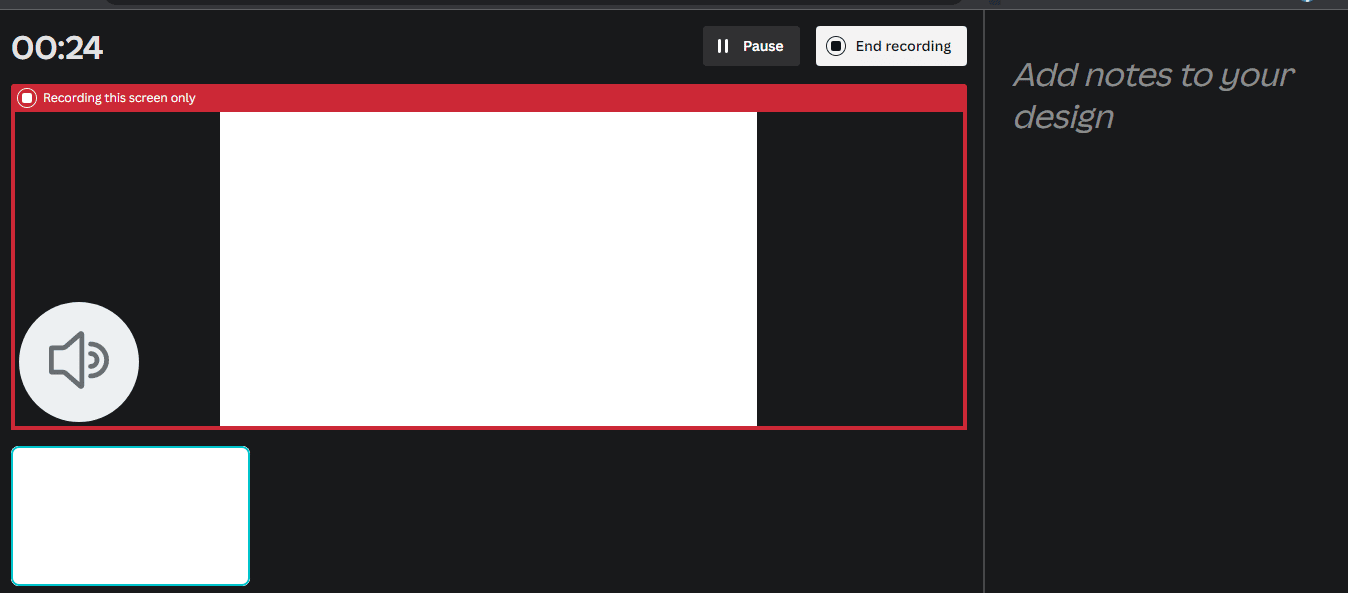
Let’s say we want the selected portion to be captured. We will select that and then you can see the dotted area, then drag what we actually need. Once you click Record, a recording starts now. You can stop it by clicking it.
Also Read: How to Upgrade to macOS Monterey: Here’s How to Install macOS Monterey
The recording has begun. You only have to click this once when you have finished recording. In the options, you can choose where to save your video. The recording is in the Screen Recordings folder in my case. On macOS, you can then edit your videos with the built-in video editor of your operating system. You’ll need imovie or Windows Video editor if you’re using Windows. Adobe Premiere Pro or Final Cut Pro are both paid options.
Tool 3: Canva Present & Record

Platform: Mac, Windows, iOS, Android
Using Canva is the next way to record your screen. Any design you’ve created on Canva can be presented and recorded. There’s a little Ellipsis icon there, and then you can choose Present.
How to Record Your Screen With Canva?
You want to present as well as record. Click Record and Present. Set up your camera and microphone once you’ve clicked on Recording Studio. Here I’m using FaceTime. You can select the microphone here.
Click Start recording once you’re ready. My design is now being recorded. I’m recording my presentations now. My video and microphone are being recorded here.
When you’re finished, you can end the recording. The video will be available through a link that you can share, or you can download. Save the exit. By clicking the Ellipsis, you can always go back and record again. Also, you can download your recording.
Also Read: Top 10 Best Drawing Apps For Android in 2022
You can edit it with your favorite video editor once it’s downloaded. Otherwise, you can just use Canva to edit your video. When we return to Canva’s homepage, we can drag and drop the video that we just downloaded and drop it there. I’ll drop it anywhere on Canva’s homepage.
My next step is to create a new design. Suppose a video. You’ll see the video template if you type “video” at the top of the page. Just click it. Go to your uploads, then to videos, and you will find the video
We’ll click once to insert it, and we’ll just modify it so it takes up this entire canvas. Let’s drag it there. Here’s where we can edit our video. Imagine we want to trim or drag the beginning. You can use that.
Here we can also split. For example, we can split and split again. Remove the middle. Our video is now edited to our liking. Then click Download. You’ll get an MP4 file.
Also Read: Top 20 Best Mobile App Development Technologies in 2022
Tool 4: Camtasia
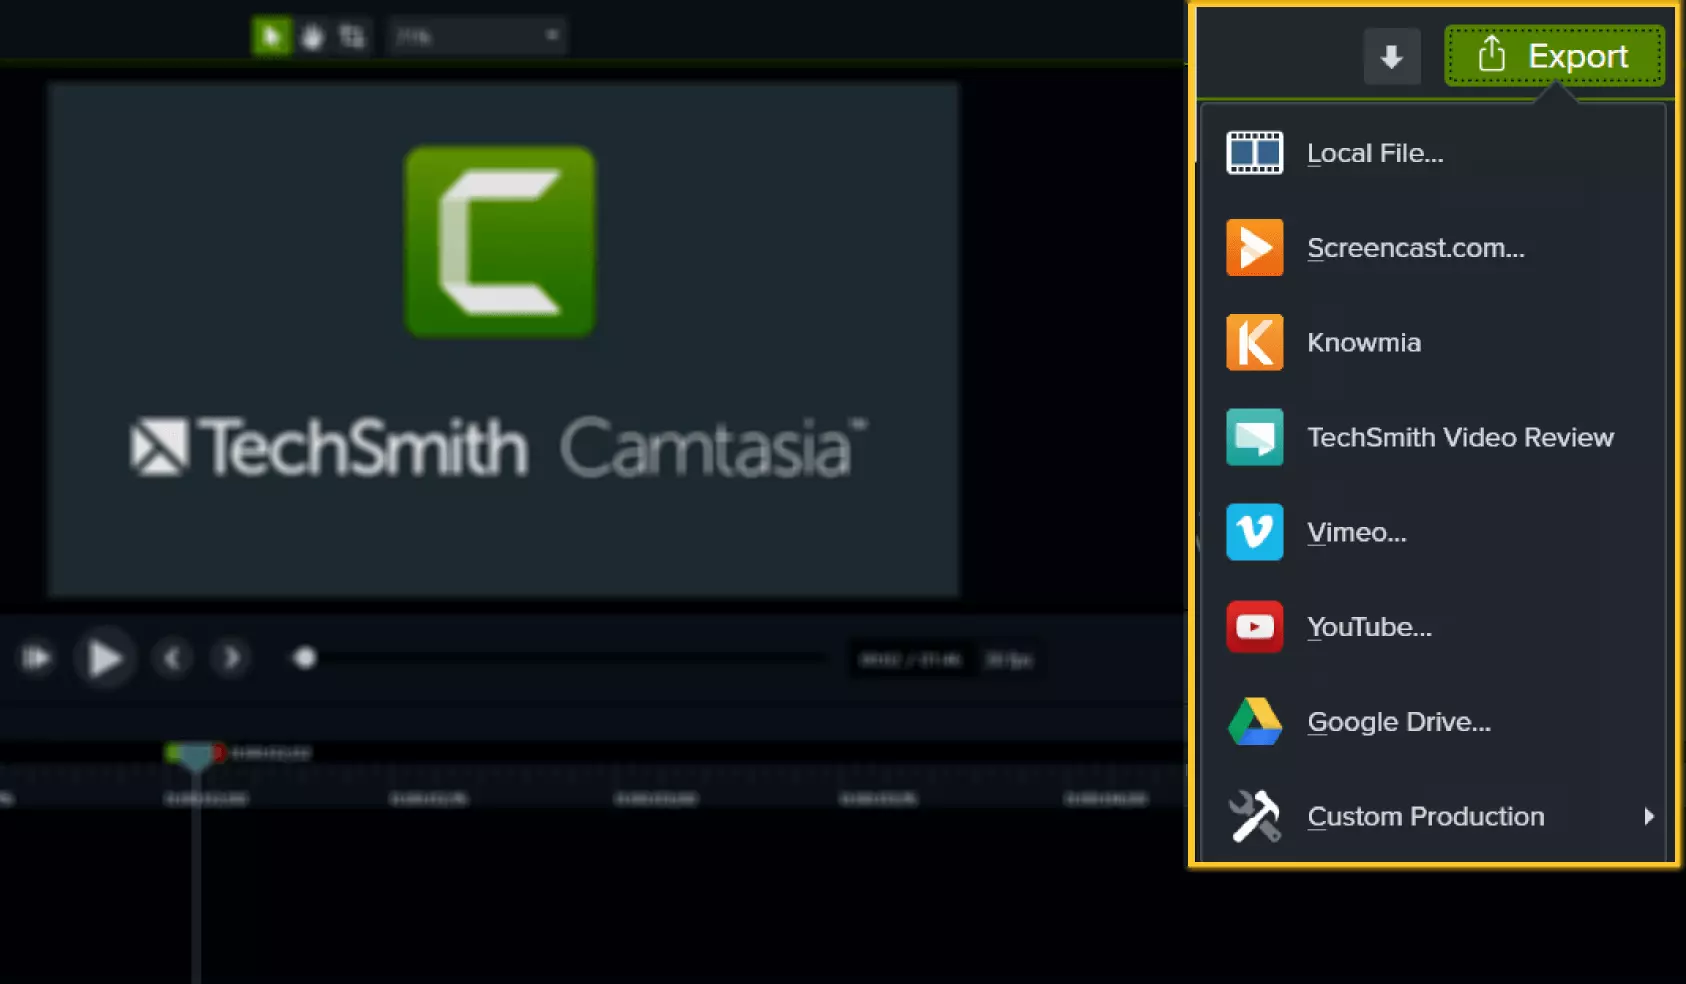
Platform: Mac, Windows
Lastly, we’ll look at a premium screen recorder. We’ll call it Camtasia. There are several features in Camtasia. A campaign is a great alternative if you intend to do screen recordings for educational purposes or if you want to take your videos to the next level. Windows and macOS are both compatible.
How to Record Your Screen With Camtasia?
Both options are compatible, so that’s the option you want. Windows users who want the professional level. It is pricey though. About $299 in US dollars. However, you only need to purchase the license once.
However, sometimes you will have to pay for updates if they release them often. Here are some of the features that make it easier than ever to create the videos you need. Things like text overlay effects, lower thirds, and so on. You have Camtasia packages, you have different recording tools, you have simplified editing, so you can easily delete, trim, and move different portions of a video, you have pre-built assets from a royalty-free library, and you can add multiple devices. Suppose you want to use two cameras.
Also Read: 4 Best Software to Deal with Vector Files on Mac System in 2022
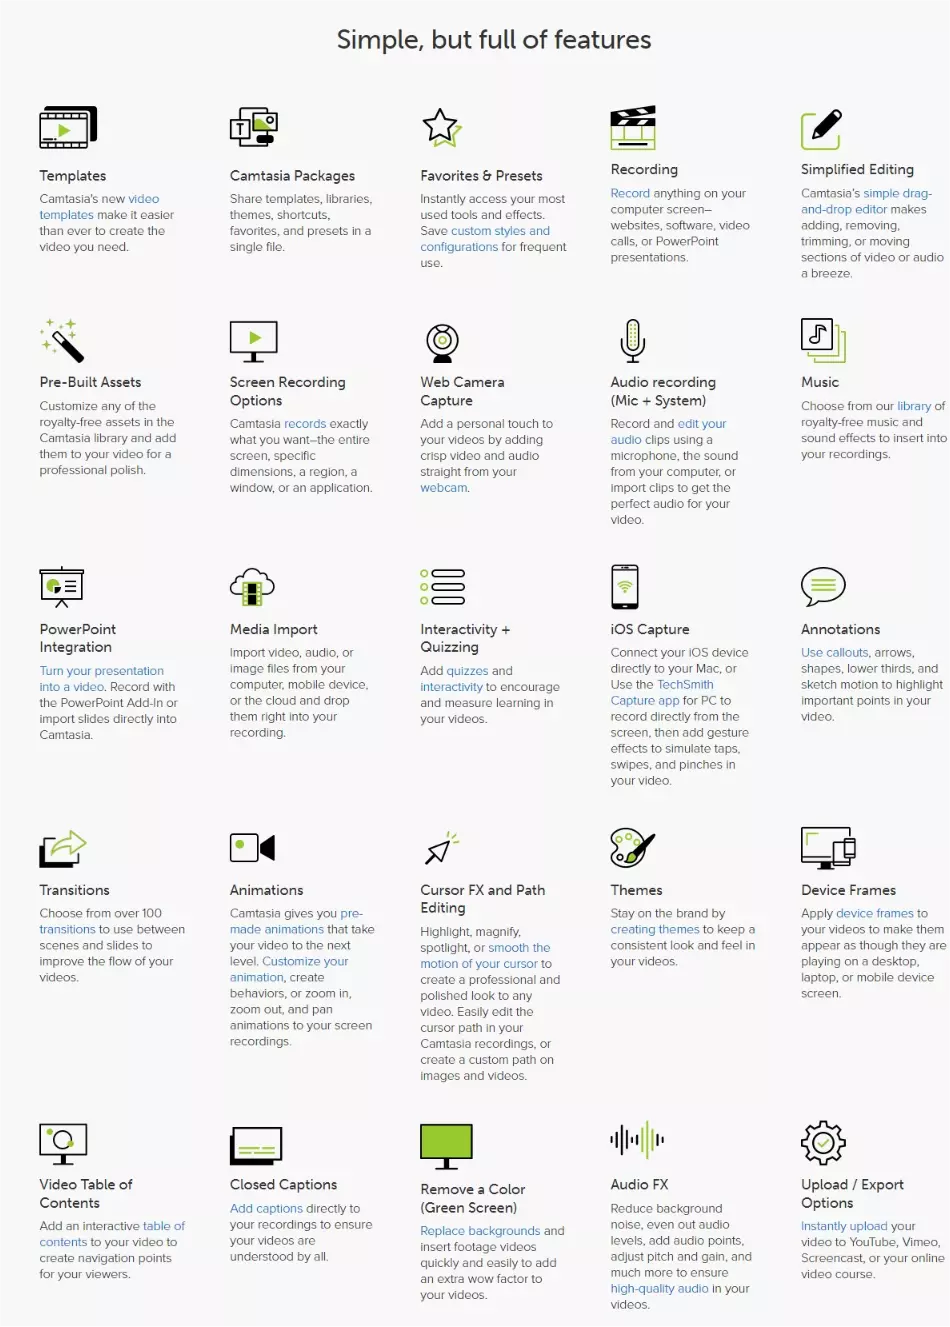
For whatever reason, you also have two microphones. In addition to a single screen, Camtasia can handle multiple screens. For those in the educational field, there is interactivity and quizzing for your students’ annotations, like call-outs, different transitions, animations, and different cursor effects, etc. Camtasia is jam-packed with features. Try it if you need something more professional.
Tool 5: ScreenFlow
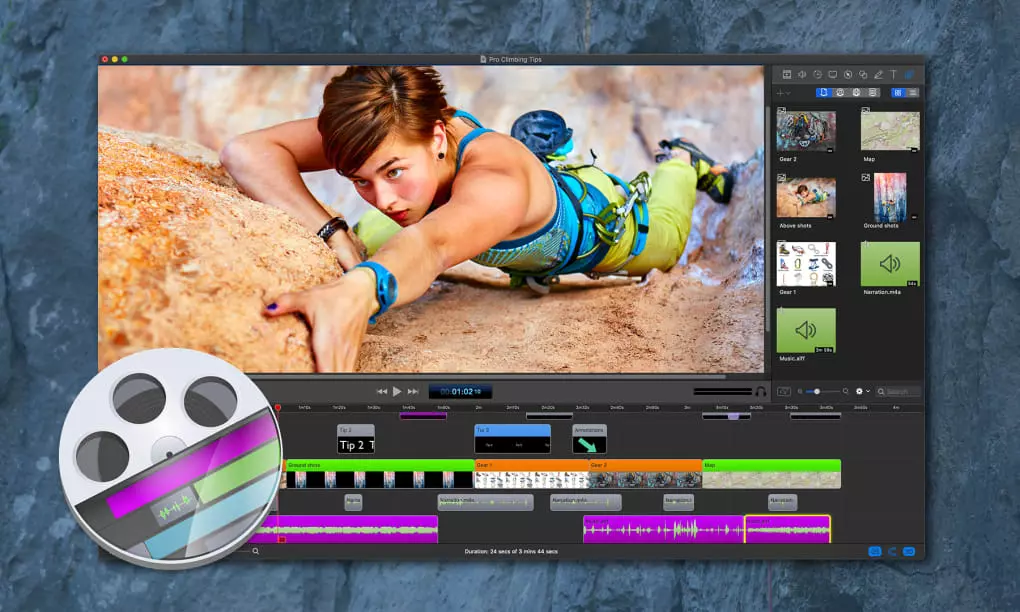
Platform: Mac
The one I use and a little fine print on the final screen recording software. The one I use is called Screen Flow and is only compatible with Mac OS users. It’s been around since version two, so about ten years or so. At the time of recording, they are on version ten. First, I’ve been using Screenplay for a long time.
It’s been a long time since I used it. In addition, I love how simple the editing features are. There are some downsides, especially if you are recording high-quality 4K videos with multiple layers, since it can lag in those cases. Although there are ways around it, such as using or enabling proxy, it’s quite technical and I rely on it to record my screen and to put that Face Cam on the corner of the screen. Lastly, on the pricing plan, you’ll notice that it starts at $149, so that’s half what Camtasia costs, so that’s the difference.
Also Read: Top 15 Best Screen Recorder for Windows 10 – No Watermark
Compared to Camtasia, Screenflow has features such as extra titles, templates you can add to multiple devices that you can record from, and multi-app recording simultaneously. With ScreenFlow, you get video filters, automatic background removal, and much more.
Which Screen Recorder is Right for You?
What’s the best screen recorder for you? The first thing you should consider is what is your goal? When you record screencasts, what is your objective? Would you like to record some quick recordings that you can share with staff or internal team members? It’s free and you get the five minute limit with Loom. It is always possible to upgrade at any time, but the reason why Looms is a great choice is the fact that you can upload to the cloud and simply share the link with your team members.
As opposed to having a video that you have to upload and then share. If you are really on a budget, then go with Mac OS or Windows built-in options. Whenever you want, you can record a video, save it, edit it with any video editor, and then upload it however you want it. Canvas, Present and Record are features you can use to present specific content from your camera account. You might want to invest in either Camtasia or Screen Photo depending on your operating system if you have a little bit of a budget to splurge on.
Final Words
If you’re looking for a way to easily and quickly record your screen, then check out our list of the 5 best screen recorders for Windows and Mac. Each one has its own unique features that make it the perfect tool for capturing everything on your screen. Whether you need to share a video with your team, or just want to make sure you always have a backup of your work, these tools are perfect for you!