When new software or operating system is released we only face 1 major question about it. Here we have the answer about how to install pop os on raspberry pi. The previous week the principal engineer of System76 named Jeremy Soller shared a screenshot of PoP OS 21.10 using Raspberry Pi 400. He again tweeter on 13.10.21 and shared a link to the experimental Pop OS release and we tried it for you on Raspberry Pi 4B.
In this article, we’ll be taking a look at how to install Pop OS 21.10 on Raspberry Pi 4 or 400. We’ll also cover the build process and the RAM and CPU usage of the end product.
How to Install Pop OS on Raspberry Pi 4 and 400
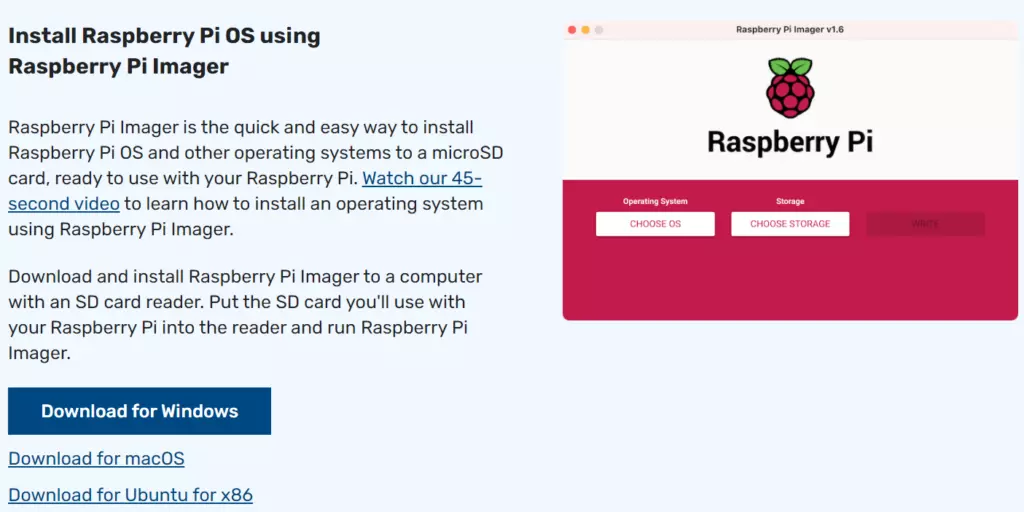
1. Go to the official website of Raspberry Pi imager, download your platform compatible Raspberry Pi imager and install it.
2. You need a MicroSD card of 16GB memory at least with an SDHC adapter, insert it in the card reader of your laptop or PC.
3. Now Download the Pop OS 21.10 image from this link
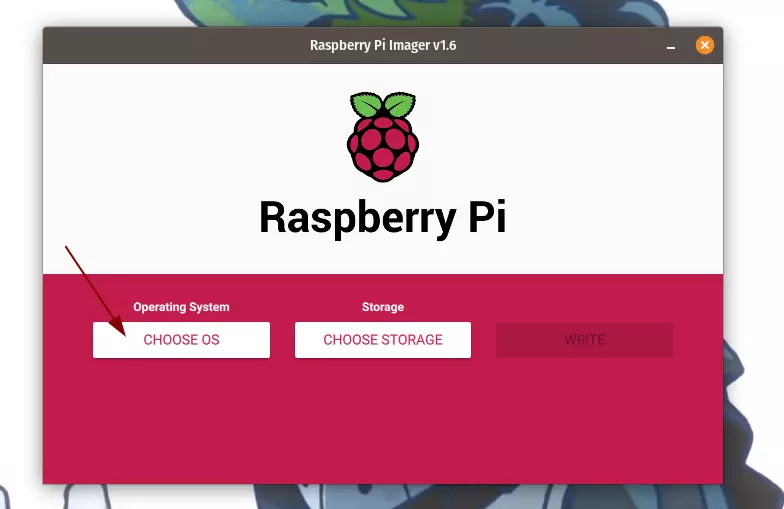
4. Open previously downloaded Raspberry Pi imager then click on the “Choose OS” button.
5. Select the Pop OS.xz downloaded file.
6. Click on the “Choose Storage” button and then click on the MicroSD card you inserted.
7. Now click on the “Write” button, and this process will take about 20 minutes to complete.
8. Once the process is completed, insert the microSD card in your Raspberry Pi.
9. It will automatically boot directly the Pop OS setup wizard, from this setup wizard you can set the username, password, network and time zone, etc.
10. You are all done, congratulations, you are succeeded to install the latest Pop OS on your Raspberry Pi.
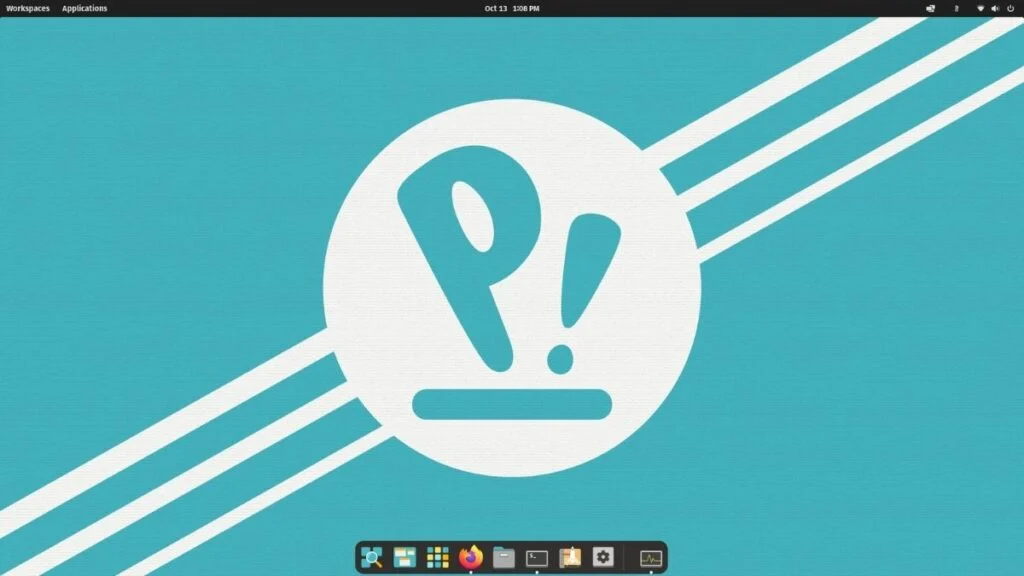
Pop OS 21.10 Build Overview
The overall experience of this OS is great as an experimental build. This OS consumes 1.3 to 4GB of RAM when it’s idle. The application opening times are better and improved. If we open 5 Firefox tabs at the same time the memory usage bumps to 2.3GB. The overall experience is great, but animations are not smoother which needs to improve.
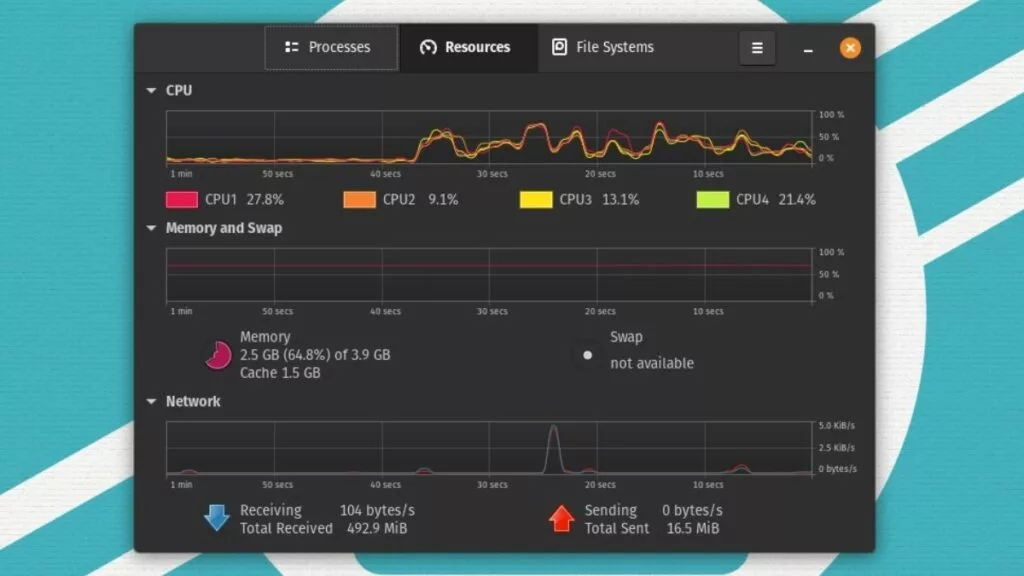
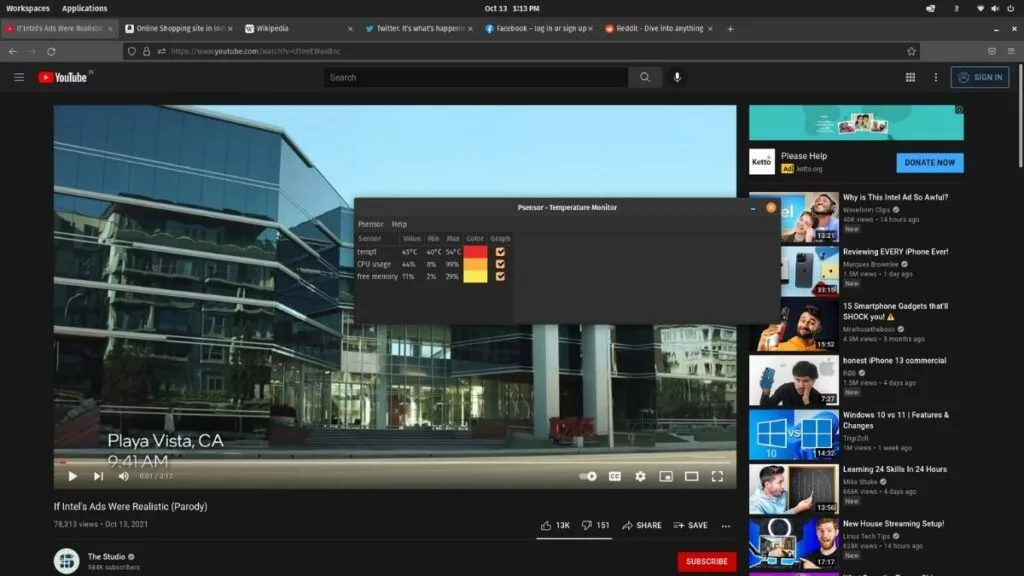
720p videos on YouTube performed excellently in our tests, with only a few frame drops over the course of an hour. We recommend using a Raspberry Pi 4 fan case in order to reduce system temperatures – and it makes a big difference! The CPU and GPU were below 55℃ for most of the test, although the latter did peak at 69℃ for a few seconds.
